
Back to Part 4 |
|
|
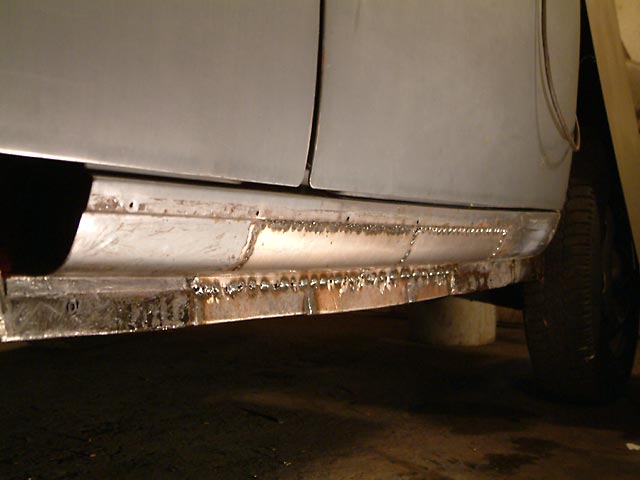
The sill needed some repairs on this side too, but it was in similar shape as the other side internally. |
|
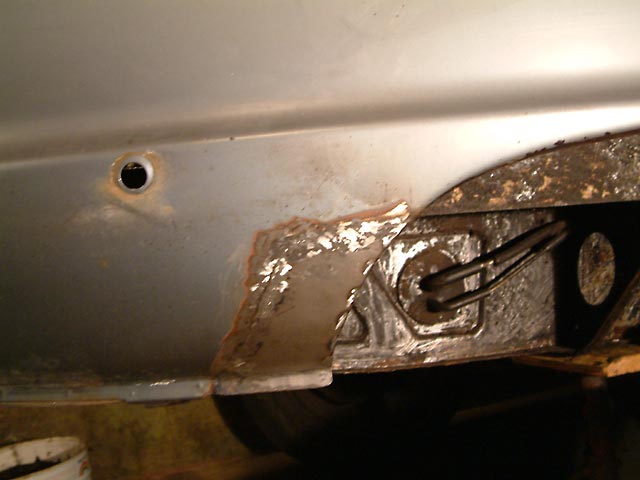
Here is often rust on Swedish R16s because we have a mud flap here, or should I say mud TRAP. |
|
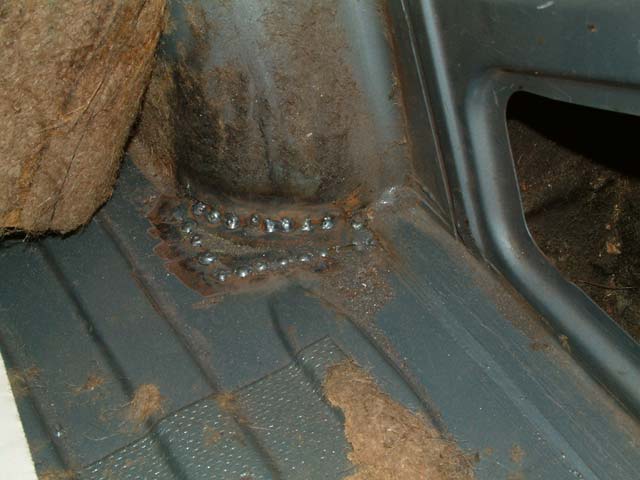
More results from the mud flap, the boot floor has rusted through. |
|
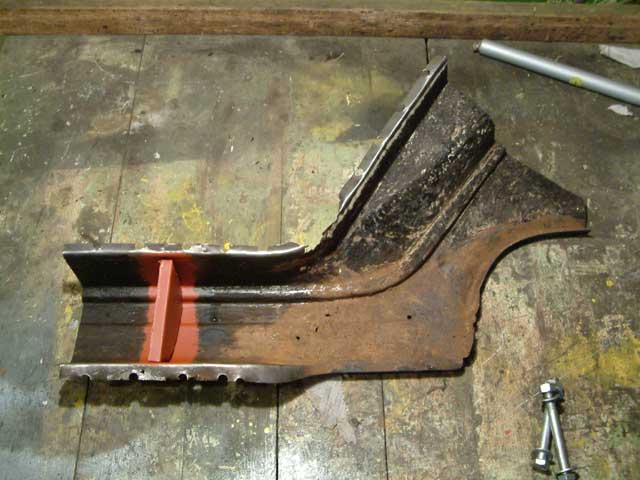
While preparing the rear part of the sill and front part of the rear wing I have made a parting wall to be fitted inside the sill. This wall is to prevent dirt and water to get into the sill, and was actually fitted on R16s 65-67. After that Renault for some reason decided it was not necessary. |

|
Here it is in place, but it is not in a very good shape. To keep track of where it was rusty
on the inside I marked rusty areas with a marker on the outside. The reason I fitted the piece without repairing the rust first is that I find that welding a loose piece tends to warp it beyond all recognition, and thus hard to get back in place. |

|
Since the shape of this part is very complicated I had to fix it with many small pieces. Too bad I didn't have a spare part, but anything is possible... |

|
Not to bad... |
|
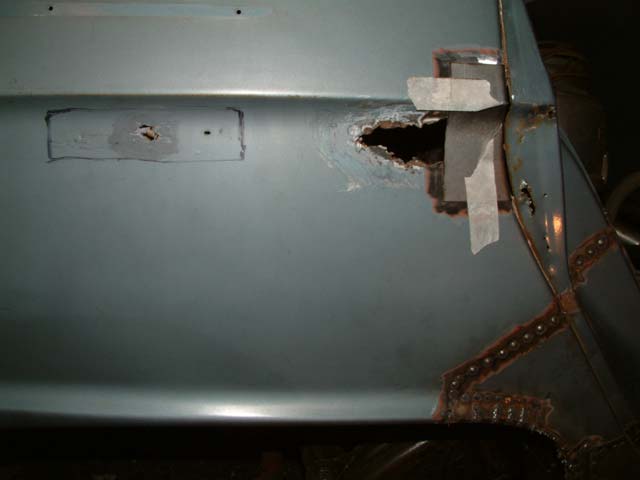
And here on the middle of the rear wing an R16 NEVER rusts, except for mine of course.
I think this is the result of thick rust protection coming loose and creating a pocket for
water. Nice, rust created by the rust protection!!! Anyway, I have started with the edge to the door to make sure I get a decent gap around the door. |
|
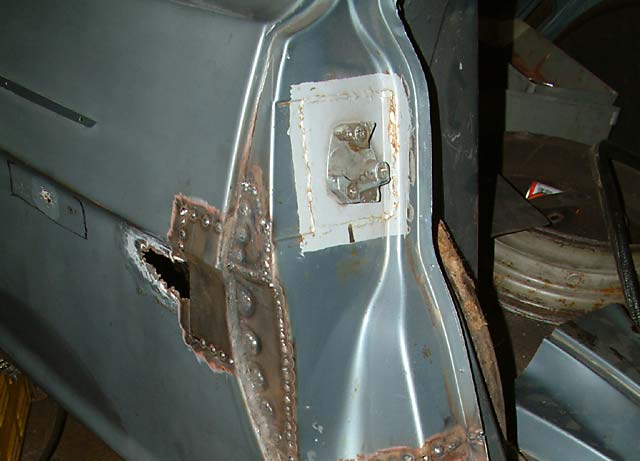
The edge next to the door is done! Around the lock back plate is it very common for R16s to rust due to a small box for the mounting plate for the back plate which isn't rust protected. If you haven't removed the lock back plate and squirted some oil here, do it today! On my R16 somebody had already done a repair here, but it wasn't properly aligned not to mention how it looked... I left this in place for the time being to keep the door in a know position. |

|
All rust has been repaired. Note, all the small patches of clean metal didn't need to be repaired, it has only been sanded to allow me to shrink the metal using the MIG welder. When you weld in patched of this size on a flat surface it often gets distorted and then you might need to shrink metal to get it back to the correct shape. |
|
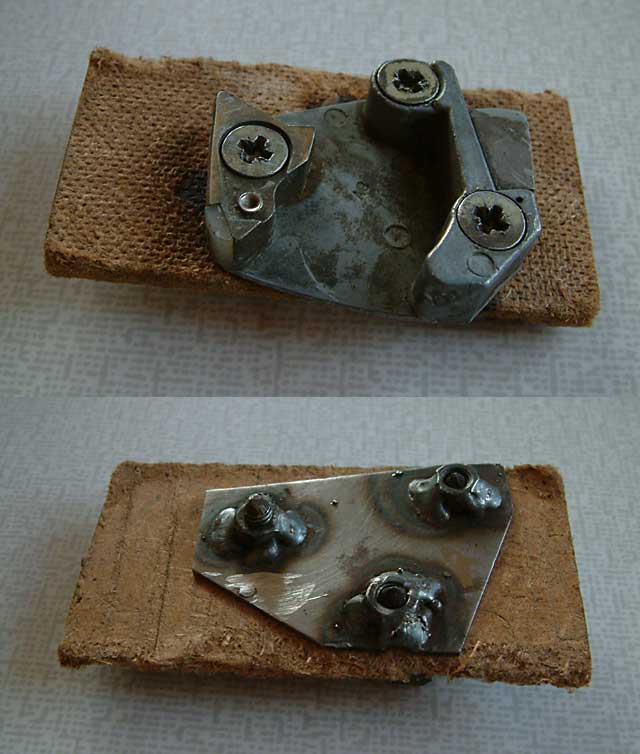
The mounting plate for the lock back plate was of course also gone and I made a new one with piece of sheet metall
and some M6 nut I welded to it. For this kind of mounting plates I generally just drill some holes in my "new" mounting plate, bolt it together with whatever is mounted and weld the nuts in place, but since the lock back plate is aluminum I put a piece of hardboard between to isolate, or it might have melted... |

|
Lock back plate back in place with some good solid steel around it. |
To Part 6 |
Last revision 2004-01-14