
|
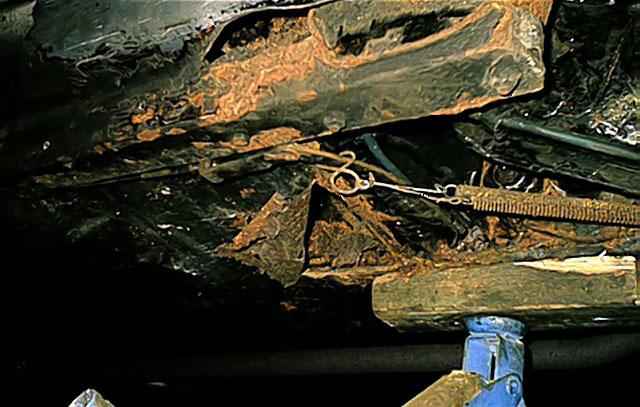
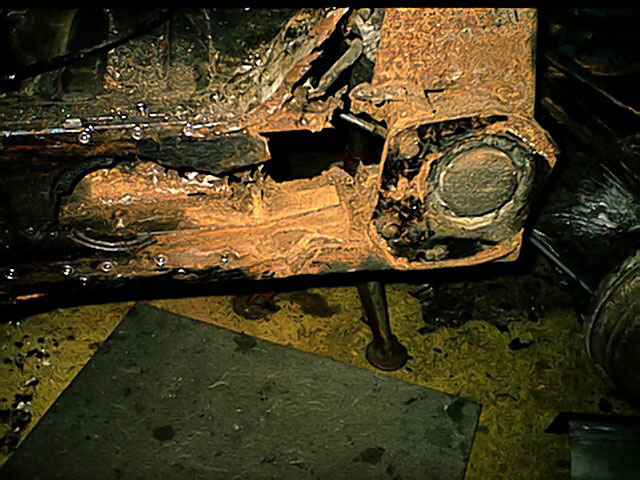
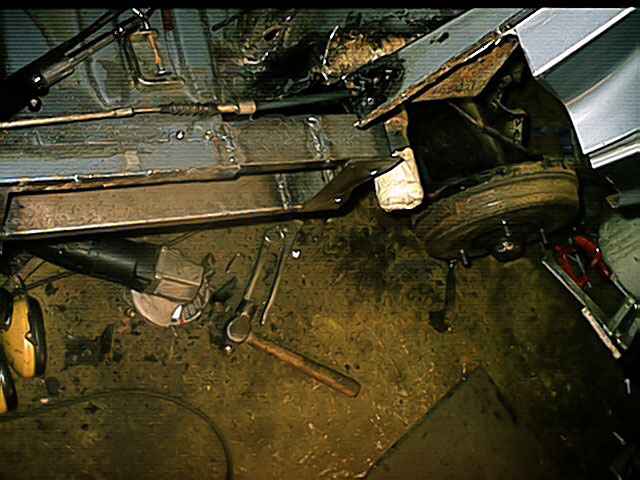
This is the outer mounting of the left rear suspension. A previous owner has bolted a beam to the floor and to the mounting point to keep it all together. Also note how rusty the floor is. The piece I have pulled of is actually an old patch. |
|
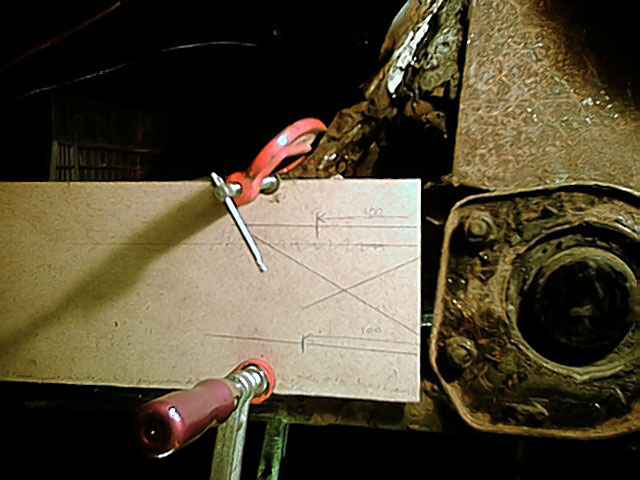
A detail of the beam fixing the suspension mounting. |
|
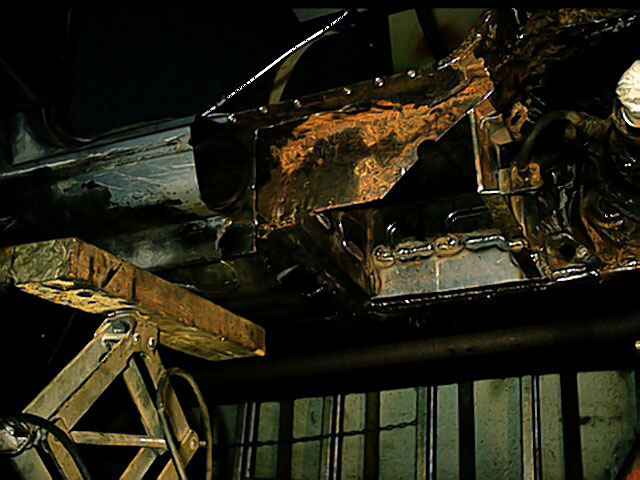
Most rust has been removed, including the floor patch. The outer side of the inner beam was welded before removing the floor over the exhaust. When it is rusty like this you have to support the car well and be careful not to remove to much at the same time. |

|
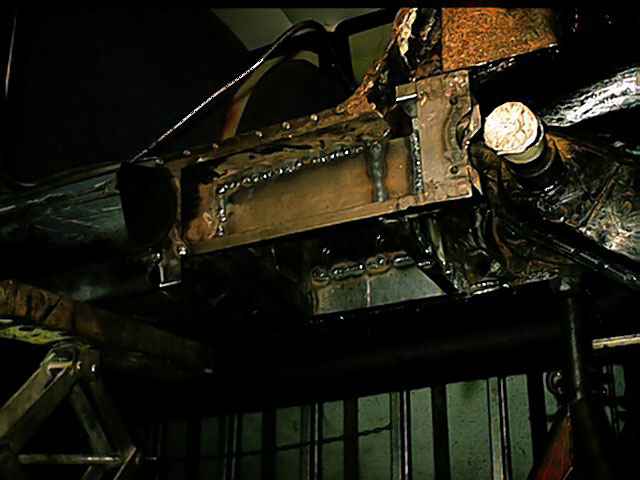
This is the same beam from the other side (inside looking out) , revealing how much I had to cut away to find solid steel. |
|
Et Voila, a new floorpan! With the inner chassis beam in good condition I turn my attention to the outer mounting of the rear axle. |
|
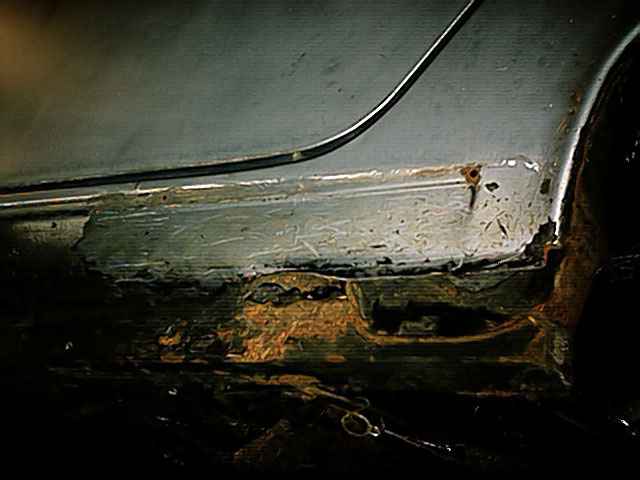
Oh horror! More rust! With the outer panel, below the door, and part of the rear wing removed, the full extent of the rust damage is clearly visible. The only thing really holding the outer mounting in place is the extra beam bolted to bottom of the floor panel. All the of the original chassis member seems to have disappeared.. Well, the good part is that the repair has the outer mounting fixed in the correct position, which I have to note carefully before removing all rust. |
|
Here I have marked the position of the bolts on a piece of hardboard. The hardboard is located so I can easily replace it in the exact same position. |
|
Here I have cut away most of the rot, and fixed the rear wall (to the right in this picture) with the handbrake lever support and brake hose mounting. |

|
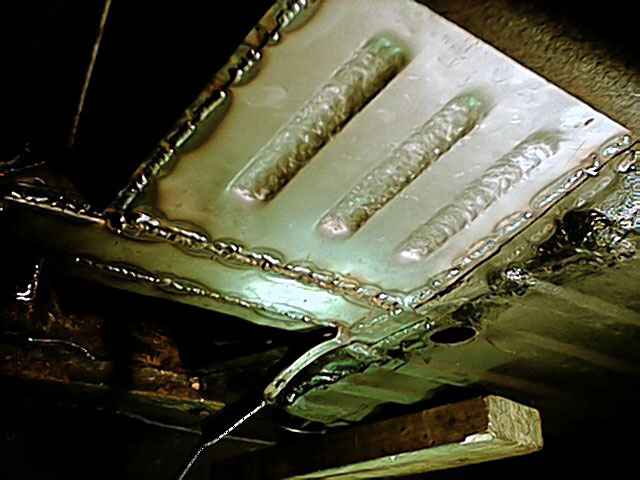
Good steel for a change!! Here I have made the part where the rear suspension mounting should bolted. I have changed the design slightly, with the tubes, where the bolt are inserted, located inside the beam instead of outside like on the original. With the tubes on the outside a lot of dirt is often trapped here, which makes it rust. |
|
The homemade part above is now inplace, together with another homemade piece, the inner side of the beam. |
|
View from the top. |

|
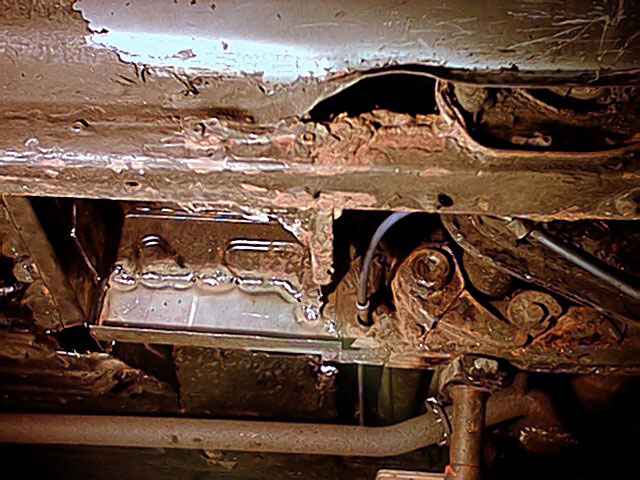
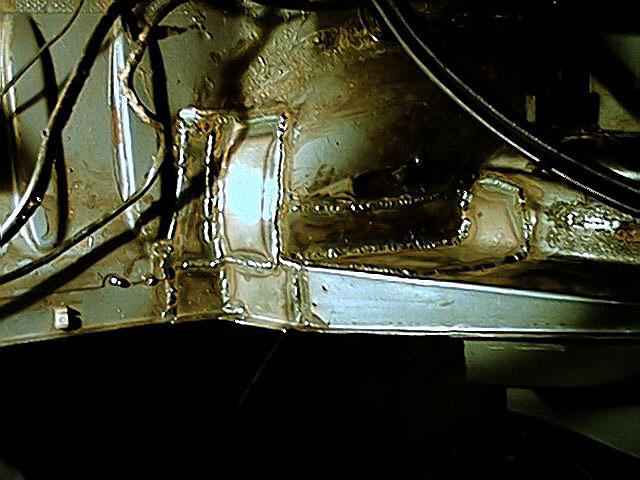
OK, here is the beam closed up with the middle wall. A new floor section has also been welded in. The original mounting block was totally rusted to pieces, so I got some "new" from Mike Neil in Australia. Amazing how good they looked, only some surface rust here and there, but without any kind of rust protection it is unbelievable. |
|
A few minor repairs was done on the inside also. I left this until last, because I wanted something to keep the car somewhat stable. |
To Part 2 |
Last revision 2002-11-16