
Back to Part 2 |
|
|
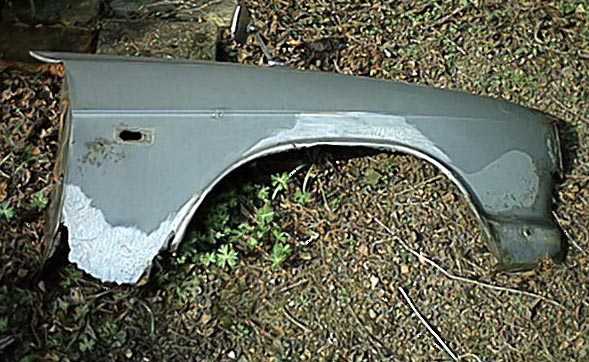
OK, let's see what this poor excuse of a front wing covers. I made some patches with fibre-glass a few years ago to be able to pass car inspection. The are not to crazy about sharp edges. In front the wing is paper thin, due to water trapped between rustproofing and wing. |

|
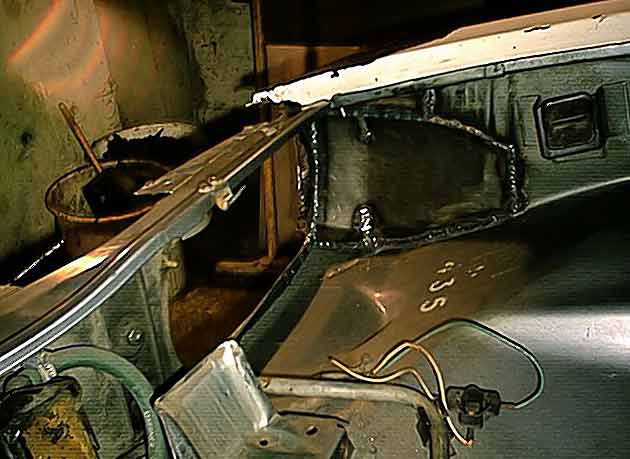
No problem to remove the bolt behind the headlight. The hole is 10x10 cm. Rust in this area is very common. |

|
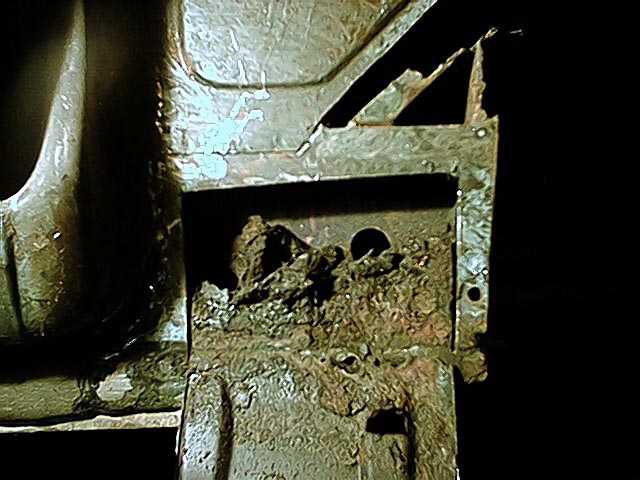
Another place to look for rust. The engine compartment ventilation is often very rusty. Rust around the ventilation slats is sure sign of problems in this area. |
|
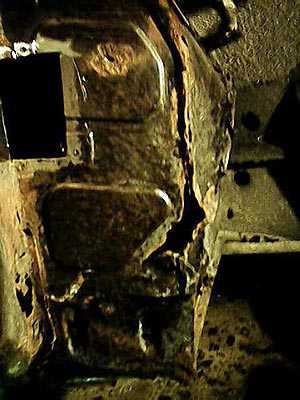
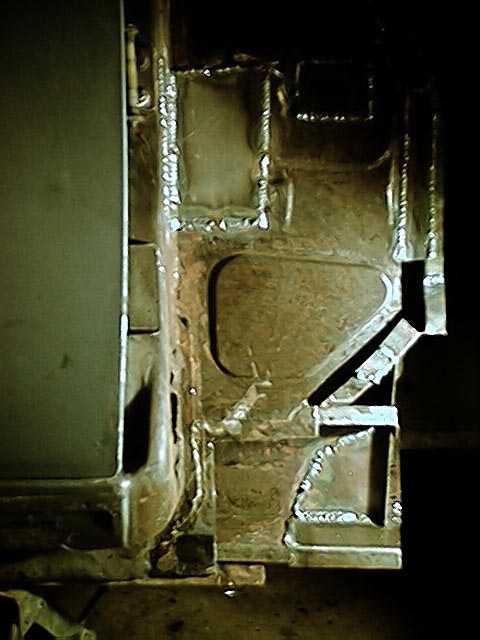
Rust in the front corner of the passenger compartment is also a common problem. Many pieces are welded together here, and the front wheels spray the area with stones and water, which is ideal for destroying steel... |
|
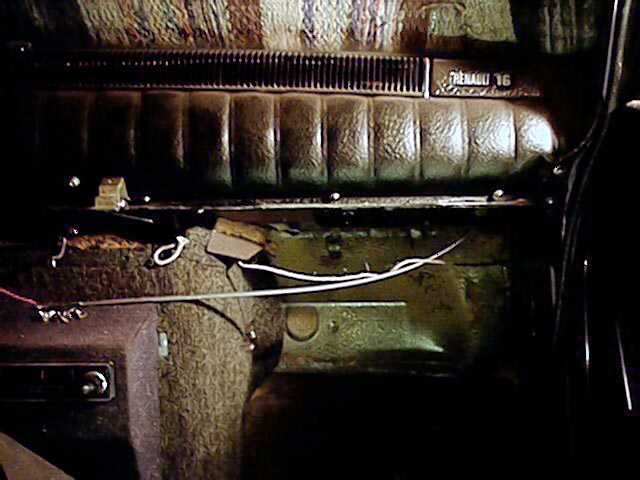
To be able to weld here, without setting the car on fire, I had to remove the insulation.
To remove the insulation I had to remove to glove box. This is a bit tricky because it is a part of the ventilation system, and reaches all the way to and underneath the instrument panel. Lots of nuts and bolts to remove in the correct order... |
|
Where do all this dirt come from??? When I opened this CLOSED section there is about 5cm of dirt inside. |

|
All the rust has been cut away, and there was a lot of it... |
|
New steel in place. |
|
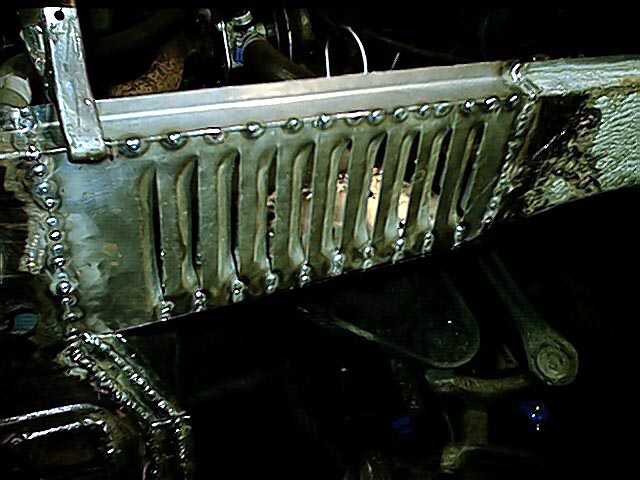
New ventilation slats made and welded into place. |

|
The innerwing and the extra supporting plate, which the jack stands on, also needed some attention. |
|
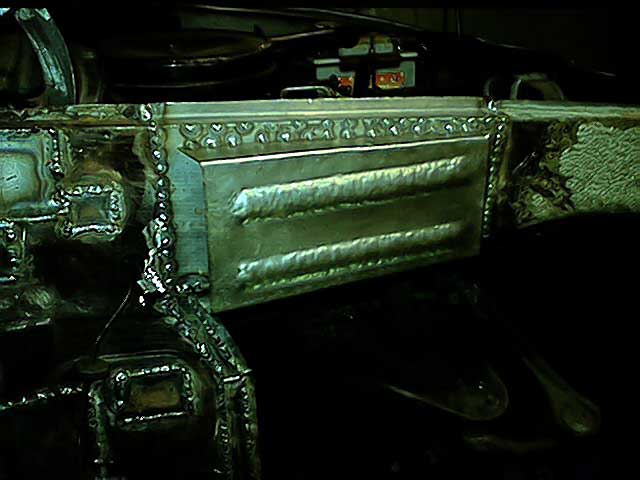
New box over the engine compartment ventilation slats. |
|
The innerwing next to the headlight is now fixed. |

|
Also the front needed some new steel, about 10 cm along the mounting flange for the frontwing. |
To Part 4 |
Last revision 2002-09-15